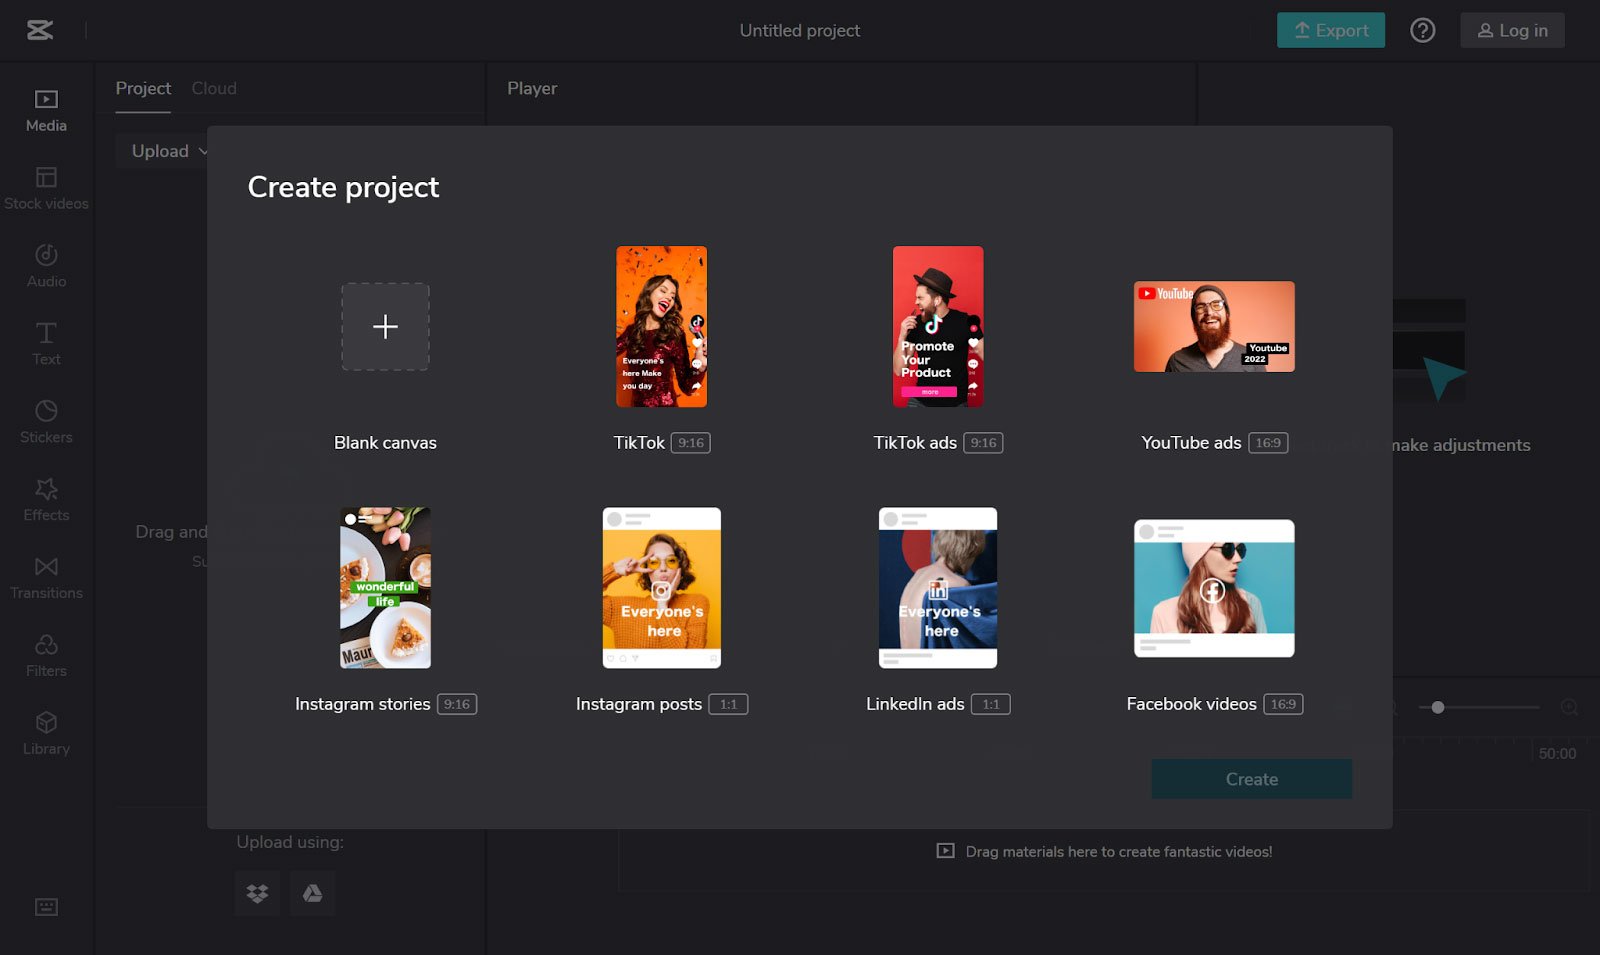
Congrats, you’ve finally decided to join Waptap’s creator community! The next step is filming, editing, and posting videos that you want your fans to see and share as much as possible.
In order to do that, you need to develop some editing skills. Luckily, you can do this pretty fast, and you won’t be on your own. There are plenty of good video editing apps out there, like CapCut or Prequel, that you can use for your videos. So why worry about needing any professional help to make successful videos when you can become a professional yourself?

There’s only one way of creating a Waptap video. You will have to film it with your own camera and then edit the video with an external editing app, like the ones we mentioned above.
To help you jump-start your creative journey on Waptap, we’ve compiled a set of tips you can use to edit videos for Waptap.

1. Use Filters, Templates, and Effects
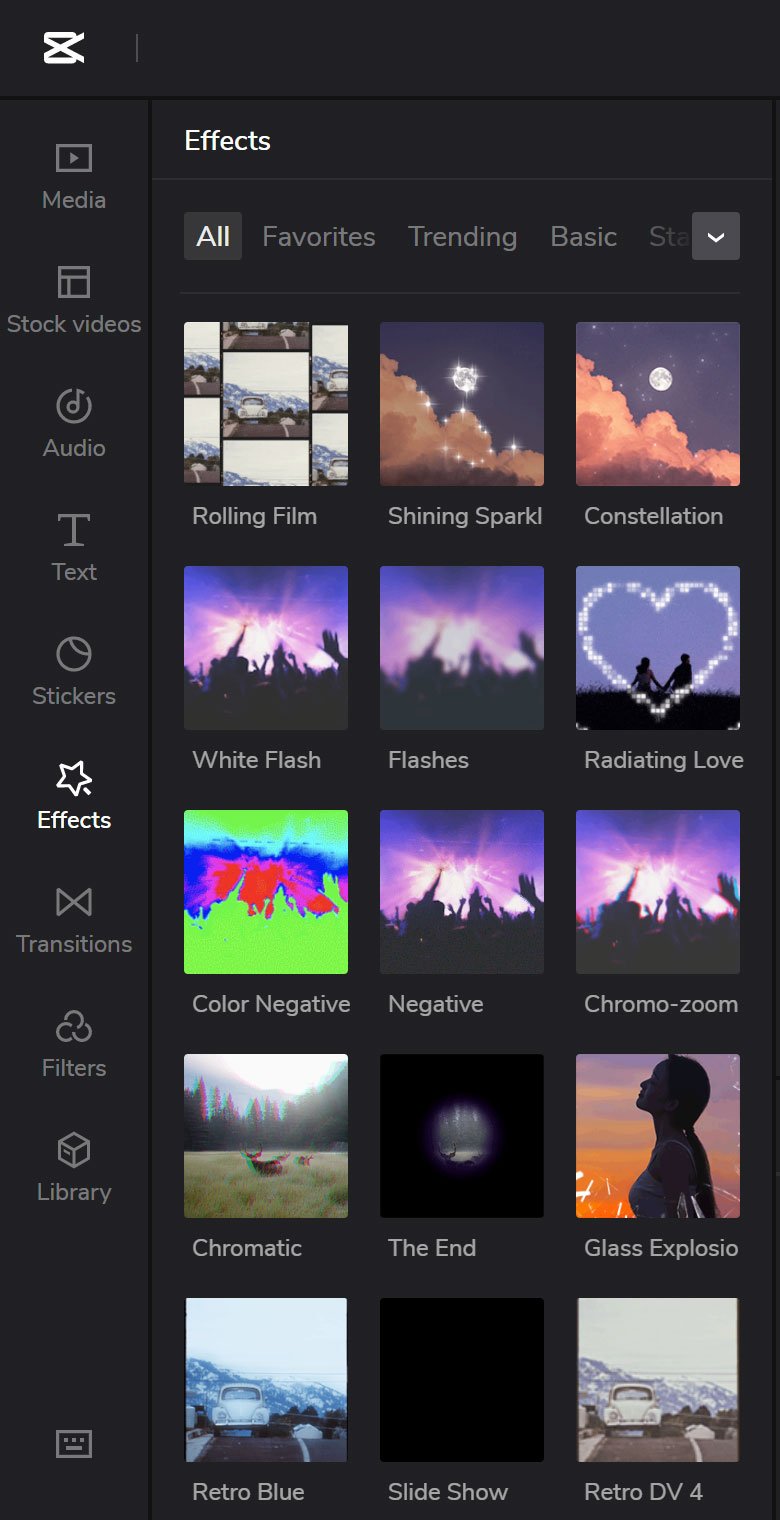
Video editing apps like CapCut offer a huge selection of filters, templates, and effects.
You can choose between Mono, Retro, Nature, Night, Movies, and lots of other filters and styles that give your pics and videos more nuance and character. There’s also a vast selection of dynamic effects, so you can make your vids look like a retro film or an old digital video.
You can use blur, shake, low exposure, flashlight effects, and various types of frames. This is only a fraction of what video apps like CapCut allow you to do with your creative potential.
One of the best things about them is that they also usually provide you with a ‘trending’ section of filters, effects, stickers, and templates, so you’re always in the loop on the latest trends in video effects.
One of the best and most used video effects is the green screen. This allows you to erase your current video background and substitute it for any other video or pic you like. Lots of creators use this effect for reactions or voiceovers, to complement their mini-video story, or to simply make the video more quirky and unusual for the viewer.
There are many ways you can use the green screen. If you need more inspiration, just take a look at the most trending videos in your feed.
2. Create Looping Videos
Looping videos are a type of video content that never ends unless the viewer decides to scroll away from it. It just keeps on playing on repeat as long as you look at it.
These kinds of vids can be very effective in boosting your visibility and platform popularity. That’s because video completion is one of the most important metrics for apps such as Waptap. When someone watches your vids more than once, it tells the algorithm that they find your content engaging and fun. This, in turn, enhances the chances that any new content you make will show up for those viewers in their personal recommendations.
So, creating more looping videos, where the end and the beginning of the video match perfectly, can really keep your viewers glued to the screen and help you expand your reach.
3. Use Transitions
Transitions are creative ways to move from one scene to another in your videos. If you want to keep up with the latest video trends and keep viewers engaged, you should definitely use them.
There are two types of video transitions:
- Ones that you enact in your videos and use basic editing to make it look like a seamless transition.
- Ones that you apply to your videos in post-production via a third-party video editing app.
Let’s take a look at some of the easiest and most popular transitions.
Jump Cuts
Jump cuts are very common and popular video transitions as they’re very easy to master.
A jump cut is when you juxtapose several short clips one after the other, using no effects in between. But to make it look seamless, you first have to end the first clip and start the second one at the same exact spot as the first one.
To nail this technique, it’s best to film more short vid material than you need so that you can have more quality material you can choose from. You should also align the subject of the video within the frame as close to the exact spot as possible.
The Finger Snap
The finger snap is another very popular transition that’s considered a variation on the jump cut.
In order to enact this transition, you’ll need to snap your fingers to signal the transition to each new clip. This is often done in combination with a popular/trending song with multiple beats that correspond with the snapping of fingers.
Covering the Camera for Before and After Reveal
Another very simple transition – you just have to bring your palm (or another object) to the camera lens and make sure to cover the whole thing. This is for the first clip.
The second clip should begin with you already filming with the lens covered and then removing your hand or object to achieve the effect of a seamless transition.
Jumping as a Very Simple and Fun Video Transition
Not to be confused with the jump cut. It’s a very simple video transition that can do wonders for how fun your content looks.
In the first clip, you only need to jump (you or another subject you’re filming) and then film yourself (or the other person) landing on the ground in a different location in the second one.
The only tricky part is getting the framing and camera movement right to achieve a seamless transition. But, as with most of these transitions, you can master this quickly and easily.
Post-Production Video Transitions
There are tons of transition styles you can use for your videos in post-production video editing apps. For example, you can use ‘old film’ transitions that make your video look like a film strip.
Or, you can use the ‘burn’ effect, which makes the frame look like it’s burning from the sides, and then replaces it with another one. You can use horizontal or vertical lines, a mosaic effect, clock wipe, dissolve, blur, fade, whirlpool, glitch, shutter, and plenty of other effects.
4. Use Text-to-Speech as a Video-Narration Technique
The text-to-speech is a widely used feature that simplifies the process of adding voice to your videos. So instead of you or a narrator reading the video text, there is a program in video editing apps, such as CapCut, that does that for you.
Adding voice to your videos makes them more engaging and more accessible for different types of viewers (people with hearing difficulties, people who don’t speak the language very well, etc.)

5. Use Automatic Captions to Save Time
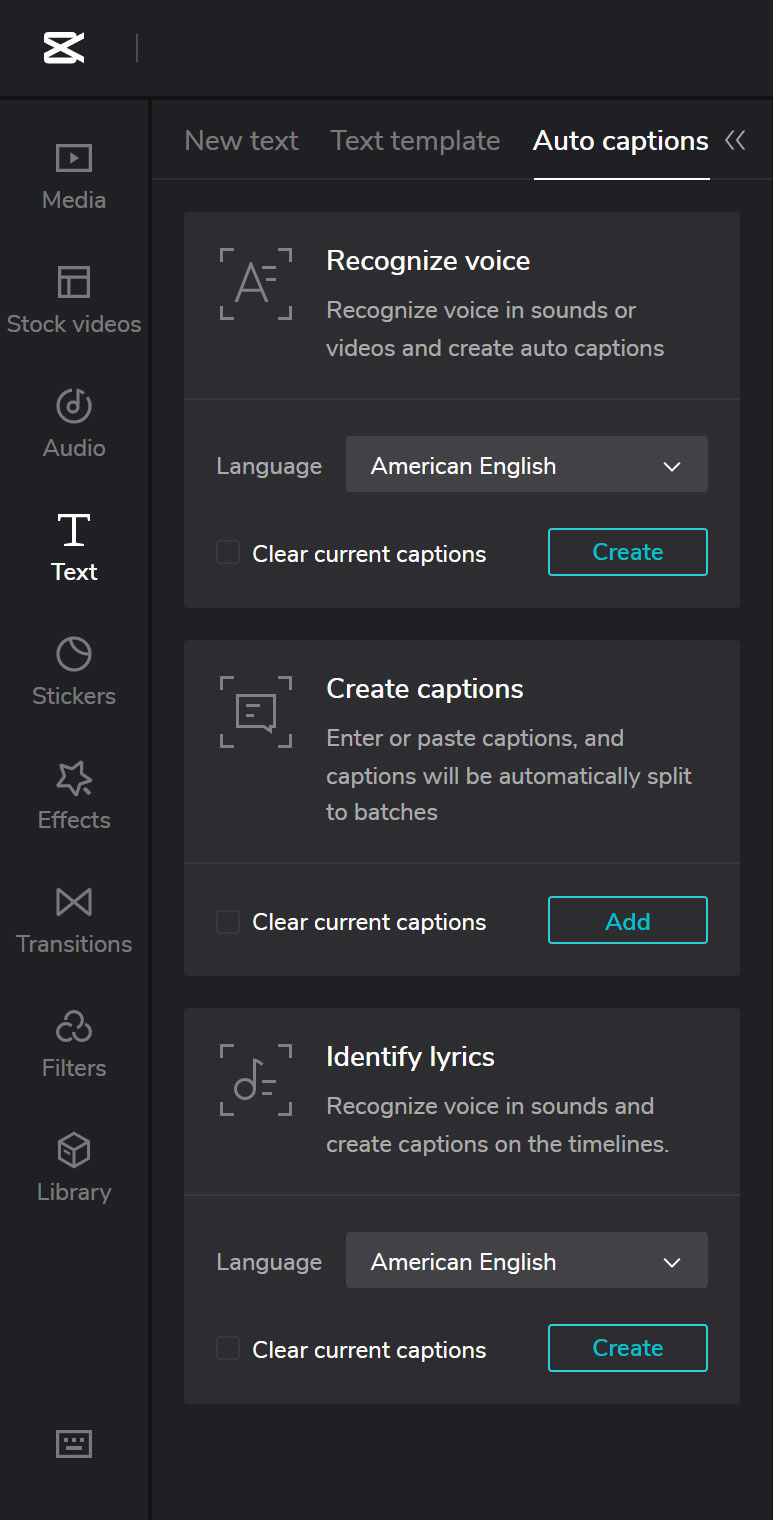
Lots of editing apps also have the auto-captions feature, which converts spoken audio or voiceovers into closed captions.
Similarly to the text-to-speech feature, auto-captions will also save you time when your video contains a lot of spoken audio material that you want to have as captioned text.
6. Use Trending Music or Sounds
Trending sounds and trending music will definitely help you get more views. Why? Well, when a sound is trending, lots of people will be looking for it through hashtags and the search function as “viral sounds” or “trending sounds/music.”
Just be wary that trends come and go really quickly, and certain music and sounds become obsolete in no time. Don’t wait too long to join the music trend if you already have a good video idea to complement it, of course.
7. Start Filming With the Music in Mind
Sound/music should be a part of your creative video idea from the start. It’s a bad idea to just glue it to an already finished video in post-production. When you have a song in mind from the beginning, you’ll find it much easier to sync the video footage cuts to the beat of the music/sound.


